Showing posts with label diy. Show all posts

December 22, 2014

BEST DIY PROJECTS OF 2014

With 2014 quickly coming to an end.. I mean I can't believe it's almost Christmas! I've decided to share a few of my favorite DIY posts that I did this past year. Most of these projects were silly ideas that popped in my little head and low and behold they came to life! I must I'm quite proud of a few of these... 2015 will be FULL of more super fun, easy, and affordable (you know I'm all about saving the pennies!) projects! Stay tuned and here are my favorites from 2014!


DIY WASHI TAPE WALL DECALS - What a fun and popular project this was! I had been wanting to use wall decals in Ashers room for sometime and just couldn't justify spending the money on them since this wasn't our forever home. I improvised with a few $3 dollar rolls and washi tape and what do ya know! If turned out fantastic! You can see the full tutorial here.

DIY MIFFY INSPIRED TREAT BAGS - These were so fun to make! And perfect for Easter! You can see the full tutorial here. 

DIY FIRETRUCK BIRTHDAY - Seems like this happened just yesterday! Parties don't have to cost a fortune. See how to stay frugal and create this fun firetruck party here. 

DIY PLANT HANGER - I love plants and this plant hanger was easy and fun to make! You can see the full tutorial here. 

DIY COMPASS BANNER - I had seen so many fun banners floating around the internet and decided to make this fun one for Asher's gallery wall in his room. You can see the full tutorial here. 

DIY CACTUS PILLOW - This was another fun diy that was just a random idea that popped into my head and came to life! I just adore this fun little pillow! You can see the how to here. 

Happy Monday friends! 

XO!



December 16, 2014

DIY BALLOON TREE TOPPER USING NORTHSTAR BALLOONS!

Every year I swear our tree gets more and more awesome! This year has probably been the best yet. Our tree is full of fun ornaments, bright lights, and some vintage treasures. Growing up, my mom would always put a tree up that was probably 12ft tall. I remember we would always have to wait for my dad to string the lights on it because it was so enormous! It was full of handmade ornaments my sister and I made throughout the years, fun garland, and candy canes.. Oh the nostalgia...

This year I wanted to do something fun for our tree topper. We usually stick to the classic star but I wanted to change it up! I had a wild idea up my sleeve to use a balloon for a tree topper this year. I figured it would be fun and different. I reached out to my favorite balloon shop ever, Northstar Balloons, and like usual they had exactly what I was looking for.... (You may remember the number "2" balloon I used for Asher 2nd birthday party and if not you can see it here)... I went with a letter "L" since it is the first initial of our last name and I love how it turned out. It defiantly finished off the tree and really made it sparkle! And best of all it was SO easy to make! Here's the how to!


You will need:

A Northstar Balloon of your choice! I went with their smaller letter balloon.
Fishing Wire


-Air your balloon up. These balloons come with a straw for you to air up.. so easy! 
- Clip the loose ends. Cut any loose tags off of the balloon but be sure not to cut the balloon!
- Tie to tree using fishing wire! 

Pretty easy huh? 

I hope you all enjoyed this easy DIY post and be sure to check out Northstar Balloons on Facebook and Instagram. 


December 8, 2014

DIY WOVEN CHRISTMAS TREE WALL HANGING

A few weeks ago, while shopping for a few Christmas decorations, I ran across a beautiful woven Christmas tree at Anthropologie. Of course it was totally out of my price range, but I couldn't stop thinking about it.. I knew there had to be a way to recreate one that was a little more of my taste and affordable.. Very affordable.. So with a little yarn and my weaving loom, I created a cute little piece that I am really loving! 

This project was a tad bit time consuming. I managed to finished mine in about two days.. That was in-between chasing a busy toddler, cleaning up messes, and doing other daily tasks. Cost wise, this projects was less than $5 to make! Awesome right?! I bought a $3.49 spool of yarn from Joanns and happened to have a 40% off coupon making it dirt cheap! I contemplated using other colors but with my minimalistic taste, I decided to just keep it one color. 

WHAT YOU WILL NEED -

Plastic Needle 
Yarn
Basic String (for your loom) 
Scissors 

HOW TO -

For those of you who don't know how to weave this tutorial here is simply amazing and SO helpful! Weaving is pretty easy to do and I find it pretty therapeutic!


I started off by setting up my loom. My loom is a DIY one I made from an old picture frame and nails. You can follow this tutorial here to make your own.


After you are done setting up your loom began weaving a few rows to hold your tassels into place.


If you don't know how to make tassels I suggest following this tutorial here. Place your tassels where you want them on your tree. 


Continue weaving in a triangle all the way up until you have reached the height you would like your tree. Add tassels where you would like them and if you prefer no tassels, feel free to leave them off. Once you have completed your tree, tuck you loose threads in, cut, and tie the edges to keep it in place. 


Hang where you would like or this would even make a terrific gift! 

I hope you all enjoy this fun and easy DIY! And if you recreate this project please share! 

Follow me on Instagram to keep up with my daily happenings! 

See my Christmas pinterest board here! 

XO, 

Emily


October 29, 2014

DIY HALLOWEEN TREATS

So I'm totally that mom that dreads all the candy on Halloween... why? Not because my child will eat it all, but because I won't be able to control myself... Gahhh I love Halloween candy! I mean who doesn't!? So this year instead of handing out candy at Trunk or Treat night, I decided to dive into the massive stash of glow sticks we had setting in the garage (the perks to being married to a Marine) and create something fun and candy free to pass out to the kiddos! I was inspired by this post and decided to put my own twist on it! 
What you will need:
black construction paper
string
glow sticks 
tags 
scissors
glue or tape
First you will want to cut your construction paper and fringe the ends.
Next wrap the fringed paper around you glow stick to make it look like a broom and glue or tape the ends. 
Lastly you will want to tie you little tags on and that's it! Pretty easy right?! 

What do you plan to pass out for Halloween this year? If you create this fun little DIY be sure to email or tag me! I love seeing all of your projects! 

Happy Hump Day! 


October 20, 2014

ASHER IS 2 / DIY FIRETRUCK PARTY

My big boy turned the big T-W-O on Thursday and we had a little celebration for him over the weekend. His latest obsession is firetrucks, along with stop signs, so I wanted to create a fun firetruck birthday party for him. Since we are in the mist of packing and set to move in about a week, I wanted something that was easy, simple, budget friendly and of course fun! 


For the party decor I stayed very basic and stuck to traditional firetruck colors... Red, gold, black, and white. I wanted the main focal piece to be the large gold number "2" balloon, which I found at Northstar Balloons. It was 34 inches of total awesomeness and I'm so in love with it! I picked up some fun party plates from target (the Oh Joy collection which is Ahmazing!) and the rest from the dollar tree. For the table cloth, I bought 2 yards of .99 cent fabric from Walmart and stamped it to look like Dalmatian spots. It was super easy to do and saved me a little moolah. For party favors I passed out fireman hats to the kiddos, which went over really well. As for the cake, I just decided to make one this year instead of ordering one and I'm so glad I did. I didn't intend for it to be as tall as it was (oops) but it was 4 layers of total deliciousness! I topped it with a cute firetruck cake topper I found on Etsy. I loved that the cake was simple... Just like I wanted it. 

We decided to do a burger bar and a few fun appetizers for everyone to snack on. I was only able to snap a few quick pictures because we were all starving and the food went fast! I wanted to keep the dinner pretty easy and I thought a burger bar would be a fun option. It went over really well too! 

Since the party was small we only had a few party activities aside from eating cake. Of course one of them was a piñata. I searched high and low for a firetruck piñata, but just couldn't justify spending a ton of money on one since it was going to be smashed into pieces. I improvised and took matters into my own hands and ended up making one myself! I was inspired by this piñata found here and used a few different materials and it turned out great! It was honestly pretty easy to make as well! 

We finished the party off with the delicious cake I made and let Asher dive into his gifts.... More than a day later and Im still full from party! Asher had such a great time and Im so thankful for all of our amazing friends who made Asher's big day even more special!  

You can see Asher's 1st birthday party here and I provided a party supply list with links below! 

gold balloon - Northstar balloons
paper places - Oh Joy for Target
party hats - eBay
Table cloth - DIY
cake topper - Etsy
piñata - DIY 


I hope you all enjoyed Asher's birthday party post! Big things are happening over here so be sure to follow me on Facebook and Instagram to stay up to date!

Be sure to check this posting out on Liz Marie Blog's Inspire Me Please Linky Party!

XO!


September 12, 2014

ORIGRAMI

I've totally been on the Instagram bandwagon for some time now and am totally obsessed with it... Maybe a little to much! I love the whole concept of it, the fact that it's mostly ad free, and the handiness of the app. I've taken over 2000 photos with Instagram so it's pretty near and dear to my heart. Recently I ran across this amazing little company called ORIGRAMI that prints your Instagram photos on an assortment of little cards, that come in a variety of designs, for an great price! Umm AMAZING!
bookshelf - Ikea 

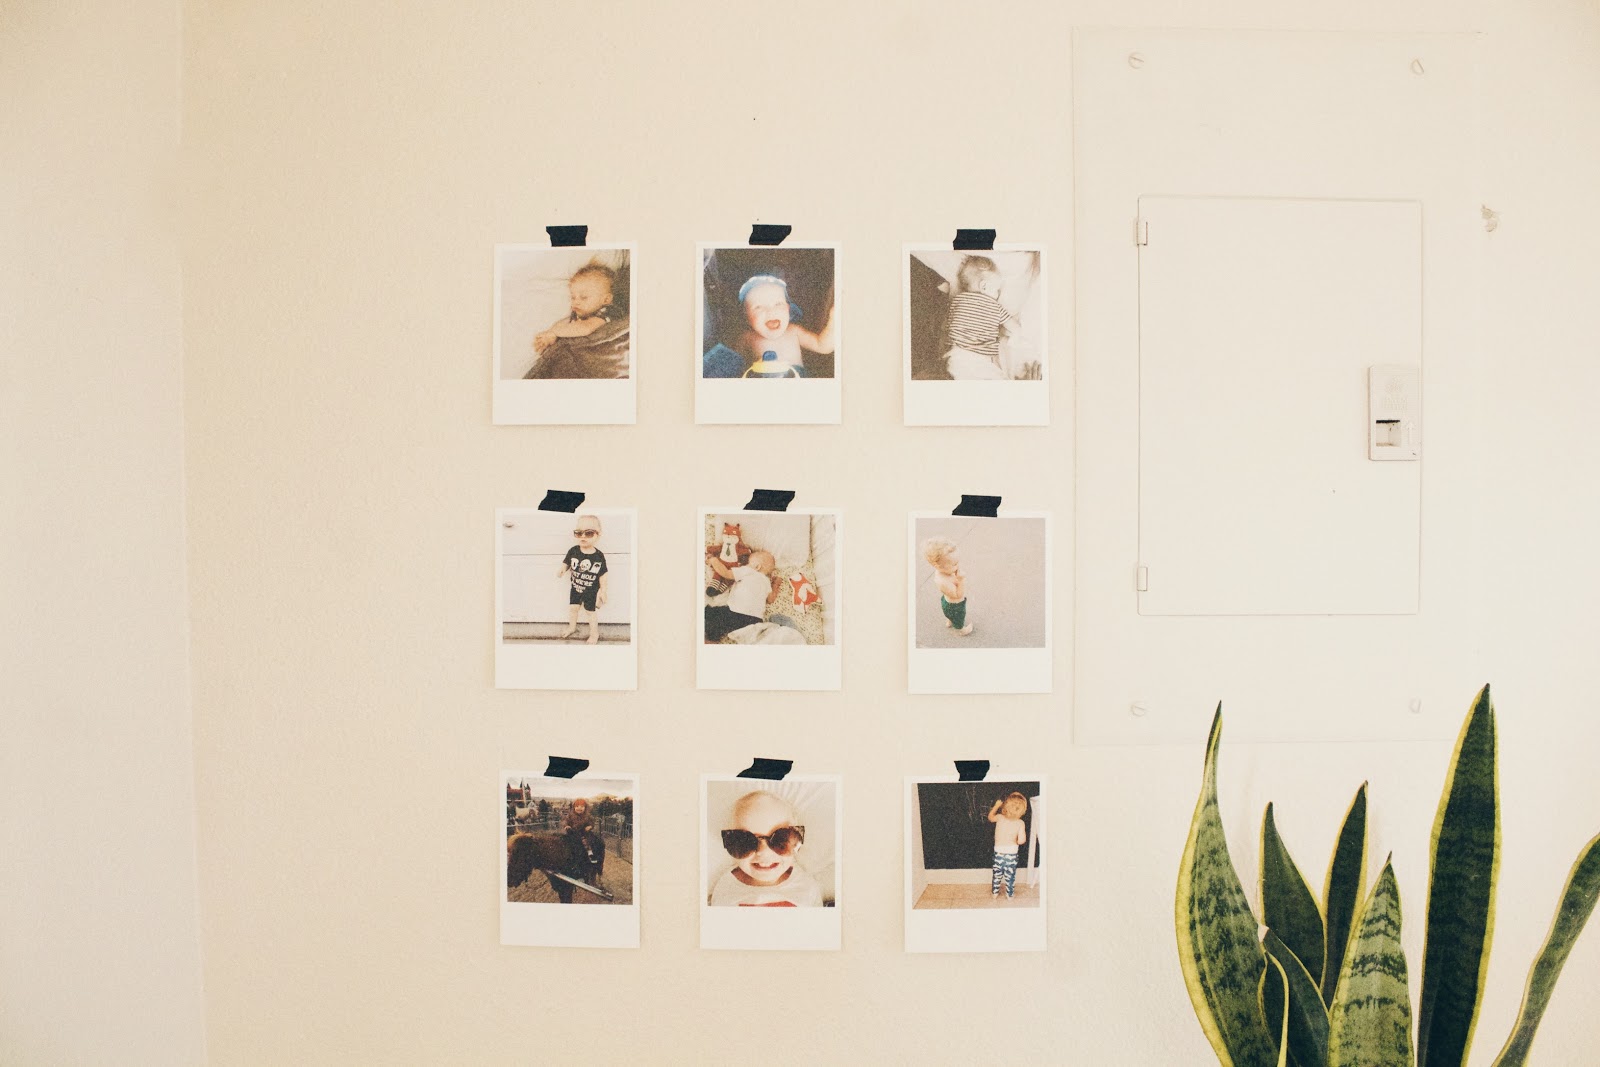
When ordering I chose the "Retroprint" option they offered which came with 36 printed Instagram photos on my choice of design theme. For the theme I chose the basic polaroid look because I love the nostalgic feel they bring. The quality of the photos was excellent. They were very clear and the perfect little size for just about anything. My heart skipped a few beats when my package came in the mail... It was so nice to see my little insta's come to life! So many great memories are on my Instagram feed and I love that I can now look at those memories on something other than an electronic device. 

I decided to display my little Origrami's in our entry way in our home. It's a small little space that was lacking a little TLC and these little photo's defiantly brought it to life. I hung them using washi tape because I love the look of washi tape and it peels off very easily.... Therefore it doesn't leave any sticky residue or tears in your photos. 

A few other things I love about Origrami is that they offer FREE worldwide shipping, have an array of amazing designs to choose from, and their packaging is perfect. All photos come in this adorable little photo folder (shown above) that keeps your photos safe when you are not displaying them. They also released an app for iPhone so ordering photos is easier than ever! 

To order your Origrami's visit their site HERE or download the app HERE

You can also stay up to date on all of Origrami's happenings by following them on 

Happy Friday loves! 

XO!